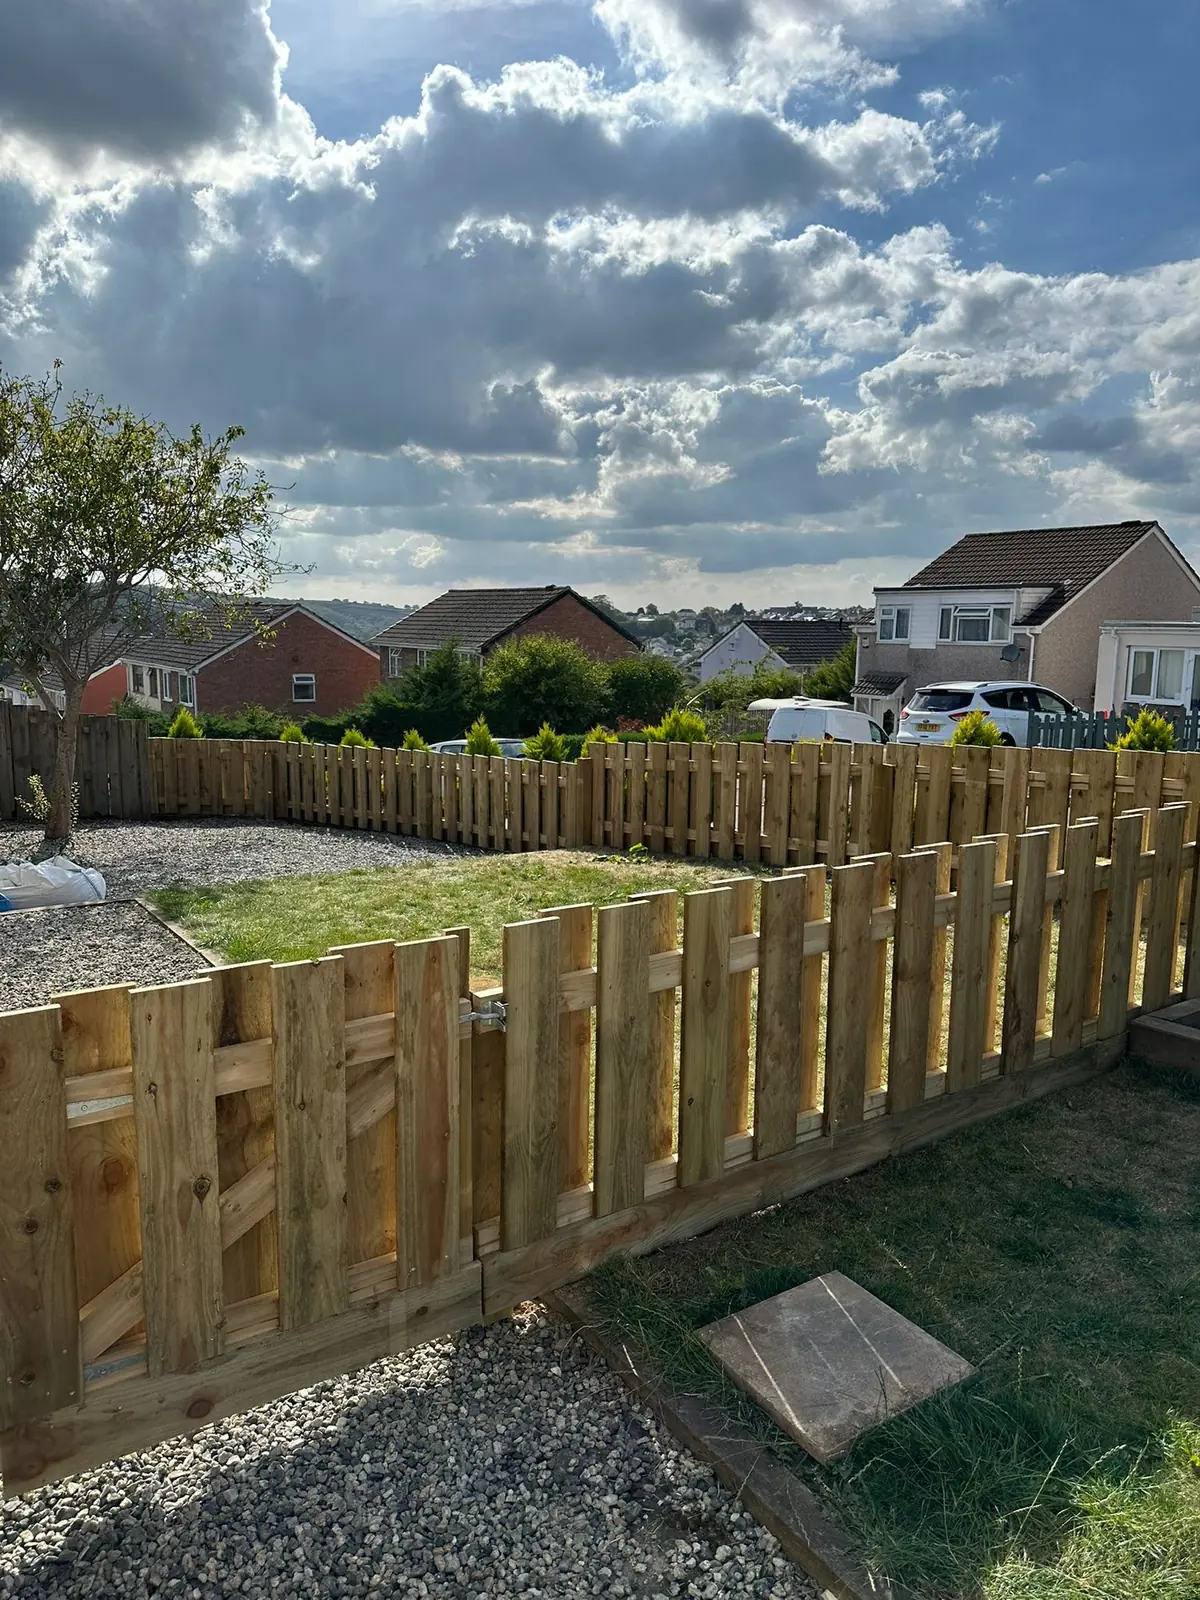
Every now and then a project comes along that perfectly illustrates why we recommend closeboard fencing over panels for certain North Devon gardens. This recent job in Roundswell, on the western edge of Barnstaple, is a textbook example. A homeowner had lost the same run of panel fencing twice in two years to winter storms, and they had finally decided enough was enough.
This post walks through what we found when we arrived, what we recommended, and how the installation went. If you are weighing up whether to repair or replace your own boundary, and whether closeboard is worth the extra investment, this is the kind of real world example that might help you decide.
The Site: Roundswell, Barnstaple
Roundswell is one of the newer residential areas on the outskirts of Barnstaple, sitting just off the A3125 towards Bideford. It is a popular spot for families, with a mix of modern estates and established properties. What it also has, particularly on the western and southern edges, is open exposure to the prevailing winds that come across from the Atlantic and funnel up the Torridge Valley.
The property we were working on sits on the edge of one of the estates, with the rear garden backing onto open ground. There is no shelter from neighbouring buildings or mature trees on the south west side, which means the boundary fence takes the full force of every storm that rolls in off the coast.
The homeowner had a 14 metre run of 6 foot lap panel fencing along the rear boundary, supported by timber posts. It had been installed by a previous owner roughly eight years ago, and in that time it had been repaired twice and replaced once after storm damage. The panels that were currently standing had been put in just two years earlier, but the February storms had taken out three of them and left the rest looking decidedly shaky.
When we arrived for the site visit, two panels were on the ground, a third was hanging at an angle, and three of the timber posts were visibly leaning. It was a clear case of a fence that was not specified for the conditions it was facing.
The Assessment
After inspecting the fence and the ground, we sat down with the homeowner to talk through the options.
The existing posts were 75mm by 75mm timber, set roughly 500mm deep in concrete. For a sheltered suburban garden, that might have been adequate. For an exposed site in Roundswell, it was nowhere near enough. The wind loading on a solid 6 foot panel is considerable, and the posts simply did not have the depth or the section size to resist it.
The panels themselves were standard lap panels, which are the lightest and weakest panel type available. They had failed not because they were badly made, but because they were the wrong product for the location.
We gave the homeowner two options:
Option 1: Replace like for like. New lap panels on new timber posts, set deeper this time. This was the cheaper option, but we were honest about the fact that it would likely fail again in the next big storm. We could improve the post depth and use concrete posts, which would help, but the panels would still be the weak point.
Option 2: Replace with closeboard fencing on concrete posts. A full upgrade to a fence built for the conditions. More expensive upfront, but a fence that would still be standing in 25 years.
To their credit, the homeowner had already arrived at the same conclusion we had. They did not want to be replacing the fence again in three years. They went with closeboard.
Find out more about our closeboard fence installation service.
Day 1: Removal and Groundwork
We arrived on a dry Monday morning in late July. The first job was getting the old fence out.
Stripping Out the Old Fence
The remaining panels came down easily, which told its own story. Two of them practically fell apart when we lifted them off the posts. The timber at the base was soft and rotted, despite only being two years old. When panels sit directly on wet soil without gravel boards, this is what happens. The moisture wicks up into the timber and rot takes hold from the bottom up.
The posts took more work. Each one had to be dug out along with the concrete around it. In the heavy clay soil common around Barnstaple, this is hard graft. We broke out the concrete with a digging bar and levered the posts free, then loaded everything onto the van for disposal. We take all old fencing away so you are not left with a pile of rubbish in your garden.
Checking the Ground
With the old fence gone, we could see the ground conditions clearly. The clay was wet and heavy, even in late July, which confirmed that drainage was part of the problem. Water was sitting along the fence line after rain, keeping the base of the fence constantly damp.
We discussed with the homeowner the option of installing a gravel channel along the fence line to improve drainage. They decided to handle that themselves after we finished, so we focused on the fencing.
Marking Out
We marked the positions of the new posts along the 14 metre run. For closeboard fencing, we set the posts at 2.4 metre centres, which is wider than panel fencing but perfectly adequate because the arris rails span the gap and the boards are fixed individually. We used a string line to ensure the posts would be perfectly in line, and checked the levels to make sure the finished fence would be level along its length.
Day 1 Continued: Setting the Posts
This is where the difference between a fence that lasts and one that fails is made. For this exposed site, we specified 100mm by 100mm concrete posts, set 750mm deep in concrete.
Digging the Holes
Six post holes, each 750mm deep and roughly 300mm square, dug into heavy clay. We used a post hole digger for the narrower holes and a spade for widening the top. In wet clay, the holes tend to close in on themselves, so we worked quickly to get the posts in before the sides slumped.
Setting the Posts
Each concrete post was dropped into its hole, checked for plumb with a spirit level in both directions, and held in position while we poured concrete around it. We used a dry postcrete mix that sets in about 20 minutes, which meant we could move on to the next post without waiting.
The concrete was domed at the top of each hole so that water runs away from the post rather than pooling around it. This is a small detail that makes a big difference to the life of the installation, particularly in wet ground.
By the end of day one, all six posts were in and set solid. We left the site tidy and headed home, ready to hang the rails and boards the next day.
Day 2: Rails, Boards, and Finishing
Fixing the Arris Rails
Tuesday morning, we started by fixing the arris rails to the posts. For a 6 foot closeboard fence, we use three rails per bay, one near the top, one near the bottom, and one in the middle. Three rails distribute the wind load more evenly than the standard two, which matters on an exposed site like this.
The rails were 87mm by 37mm pressure treated timber, mortised into the posts. Mortised joints are stronger than face fixed rails because they cannot pull out under wind load. Each rail was checked for level before being fixed.
Fixing the Gravel Boards
Before the boards went on, we fitted concrete gravel boards between the posts. These sit at ground level and keep the featheredge boards clear of the wet soil. On this site, where drainage was poor and the ground stayed damp, gravel boards were essential. The previous fence had failed prematurely partly because the panels sat directly on the ground, and we were not making that mistake again.
Concrete gravel boards will outlast the fence itself. They do not rot, they do not warp, and they provide a solid, level base for the boards above.
Fixing the Featheredge Boards
The boards are what give closeboard fencing its characteristic appearance. We used 150mm pressure treated featheredge boards, fixed vertically to the arris rails with two galvanised nails per rail. Each board overlaps the previous one by about 25mm, giving a finished coverage of roughly 125mm per board.
Working along the run, we fixed each board in turn, checking that it was plumb and that the overlap was consistent. The boards were cut to length at the bottom to sit neatly on the gravel boards, giving a clean, straight line along the base of the fence.
For the top of the fence, we fixed a timber capping rail across the posts, covering the top of the boards. This protects the end grain of the boards from water ingress, which is where rot typically starts, and gives the fence a finished, purposeful appearance.
The Finished Fence
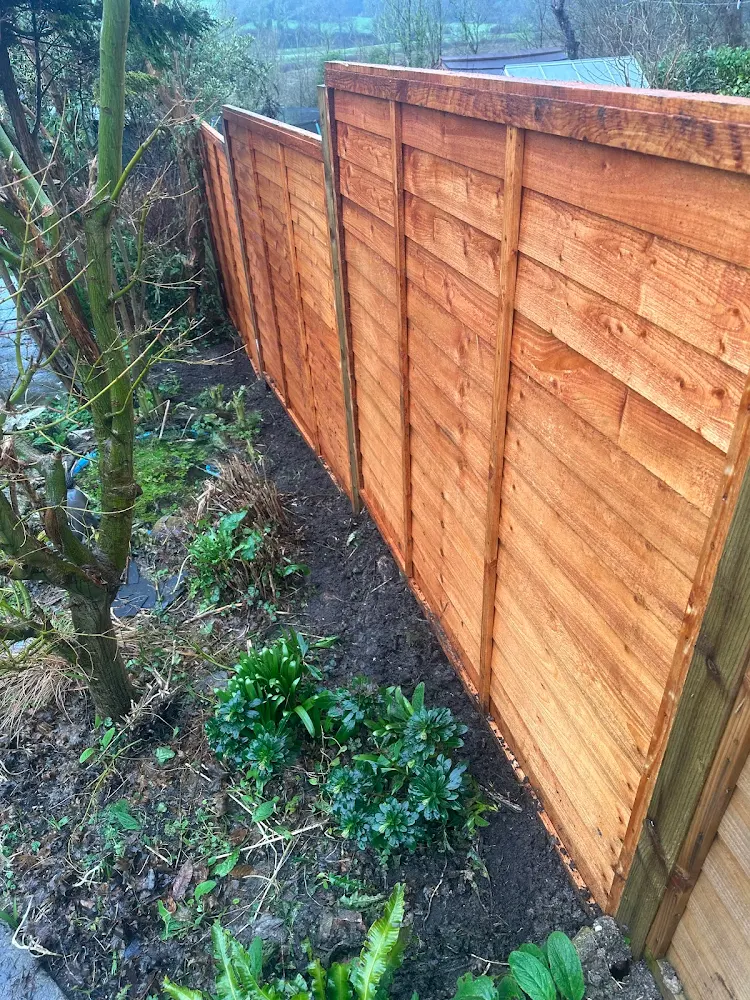
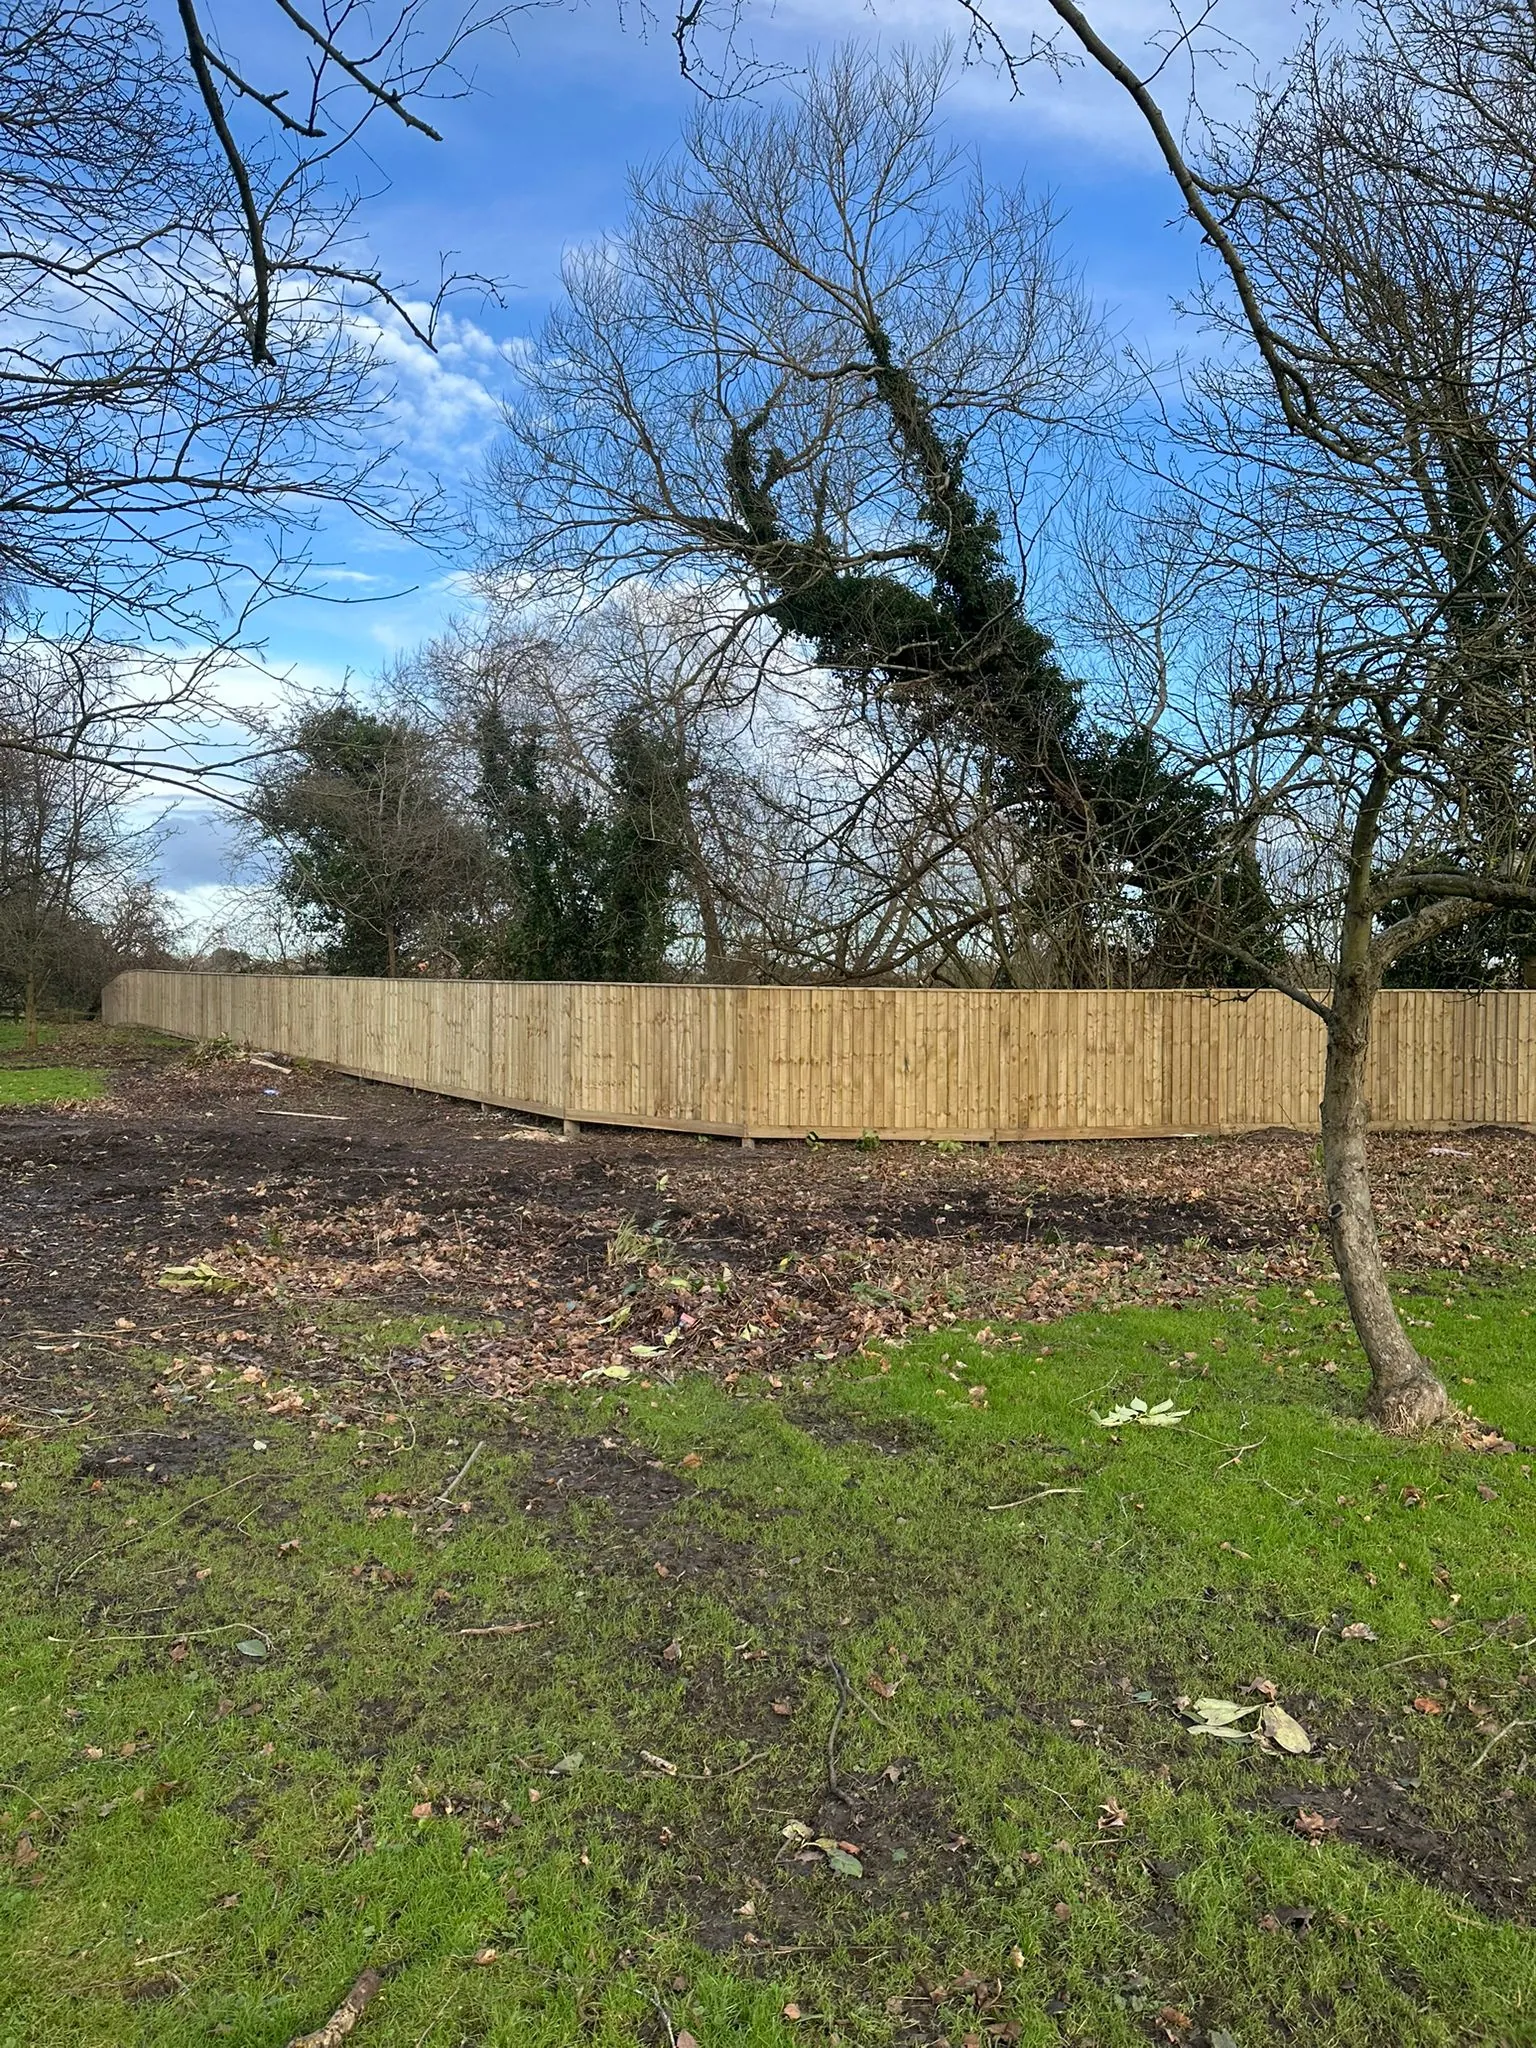
By late afternoon on the Tuesday, the fence was complete. 14 metres of closeboard fencing on concrete posts, with concrete gravel boards and a timber capping rail. The difference from the old fence was striking. Where the lap panels had looked flimsy and temporary, the closeboard fence looked solid, permanent, and properly built.
We walked the line with the homeowner, who was delighted with the result. From inside the garden, the fence provided complete privacy and a clean, attractive backdrop to the planting. From outside, the boundary looked smart and substantial, a clear improvement on what had been there before.
What Made the Difference
Looking at why this fence will succeed where the previous one failed, it comes down to three things:
The posts. Concrete posts set 750mm deep in concrete, compared to timber posts set 500mm deep. The concrete posts will not rot, and the extra depth gives them far more resistance to wind loading. This is the single biggest factor in the longevity of the fence.
The construction. Closeboard fencing built on site is a continuous structure with no weak panel joints. The arris rails span multiple posts, distributing the wind load along the fence. Individual boards are independently fixed, so even if one is damaged, the rest of the fence remains intact.
The gravel boards. Keeping the boards clear of wet soil prevents the rot from the ground up that killed the previous fence. The concrete gravel boards will last indefinitely and provide a permanent, dry base for the fence.
The Cost vs Value Calculation
The homeowner paid more for this closeboard installation than they would have done for a like for like panel replacement. Roughly 40 per cent more, in fact. But the calculation is not about the upfront cost, it is about the cost over the life of the fence.
The previous panel fence lasted two years before it needed replacing. Even if the new closeboard fence only lasts 20 years, which is a conservative estimate for closeboard on concrete posts, the cost per year of service is dramatically lower. And that is before you factor in the avoided cost of storm damage repairs, the hassle of dealing with a blown down fence in January, and the improved appearance and value of the property.
For an exposed site in North Devon, closeboard on concrete posts is not an extravagance. It is the sensible, cost effective choice.
Looking for Fencing in Barnstaple?
This project in Roundswell is typical of the work we do across Barnstaple and the surrounding area. We do not just turn up and install the cheapest fence we can. We look at the site, assess the conditions, and recommend the fencing that will actually do the job for years to come.
Whether you need a full boundary replacement, a fence repair, or advice on the right fencing for your garden, we are happy to come out, take a look, and give you an honest, no obligation quote.
Contact us today for your free site survey and quote

About Nathan
Nathan has spent more than 10 years installing and repairing fences, decks, and garden structures across North Devon. He takes a practical, detail-first approach to every project, using materials that are properly specified for the coastal weather around Barnstaple, Bideford, and Ilfracombe.
Learn more about NathanNeed Professional Fence Installation in North Devon?
If you are looking for reliable, professional fencing services in Barnstaple or the surrounding North Devon area, Barnstaple Fencing is here to help. With over 10 years of local experience, we understand exactly what North Devon properties need to withstand our challenging climate.
Contact us today for:
- Free site surveys and quotes
- Closeboard and panel fence installation
- Storm damage repairs and replacements
- Fence upgrades and improvements
Call 01271 626340 or contact us online for your free quote.
Serving Barnstaple, Roundswell, Bideford, Ilfracombe, and surrounding North Devon areas with professional, reliable fencing services you can trust.